 Kula Journal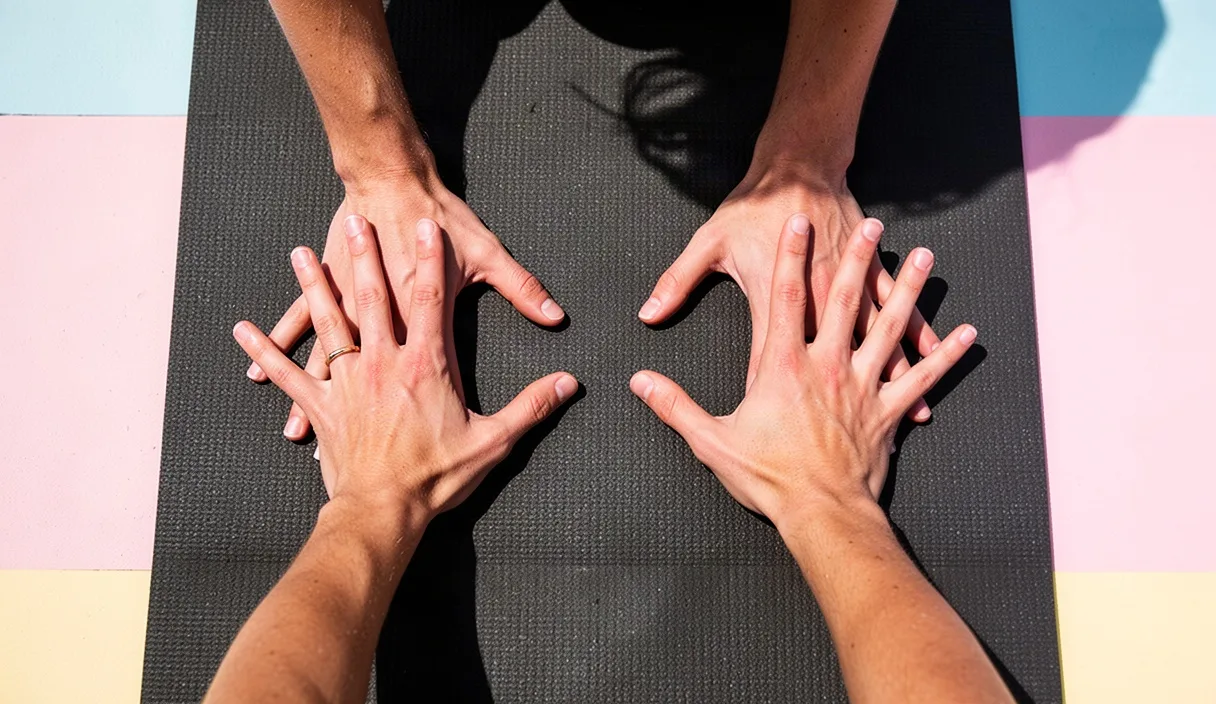

Wrist pain is the most frequent complaint from students in an arm balance or inversion. In Downward-Facing Dog, your hands stay flat on the mat while your hips lift up and back. Your upper limbs support roughly one-third of your total body weight in this position. If your skeleton and tendons do not line up against the floor, that mechanical force pinches the front and back of the wrist joint.
The wrist is not a simple hinge. It connects two forearm bones to eight small carpal bones held together by ligaments. The joint handles pulling tasks well, such as carrying an object with bent fingers. It handles compressive loads poorly when bent back at a sharp right angle. Adjusting hand angle, palm contact, and load distribution changes how gravity transfers through the joint into the floor.
The physics of wrist loading in arm balances
Downward-Facing Dog places the wrist in active extension while bearing load. In standard floor stances, the angle between the back of the hand and the top of the forearm sits between 85 and 90 degrees. This deep extension closes the dorsal space of the joint. The back edge of the radius presses against the scaphoid and lunate bones, while the soft structures on the palm side pull tight over the carpal tunnel.
When you stand on two feet, the arches of the feet cushion and distribute impact. The hand has similar arches: a transverse arch across the knuckles and a longitudinal arch from the wrist to the fingertips. Flattening the palm without muscular action collapses these arches. The full load then drops directly through the heel of the hand, specifically into the pisiform and scaphoid bones, bypassing the shock-absorbing muscles of the palm and forearm.
Ground reaction force increases if your center of mass shifts forward. If your shoulders move past your wrists, the angle of extension becomes more acute than 85 degrees. A tighter angle increases bone-on-bone contact at the dorsal wrist margin and multiplies tensile strain on the flexor tendons.
| Joint Angle | Dorsal Joint Space | Primary Load Point | Mechanical Risk |
|---|---|---|---|
| 95 to 100 degrees (open) | Wide | Metacarpal heads and fingers | Minimal direct compression |
| 85 to 90 degrees (standard) | Neutral to narrow | Equal across palm surface | Moderate compression on joint margin |
| 70 to 80 degrees (acute) | Pinched | Heel of the palm | Nerve impingement and bone bruising |
Distributing this weight requires mechanical leverage. You must counter the downward pull of gravity by activating the muscles on the front of your forearm. Contracting your deep finger flexors shifts the force line forward away from the sensitive joint line and toward the larger surface of the knuckles.
Index knuckle pressure and the carpal tunnel
The carpal tunnel sits at the base of your palm. It is a rigid ring bounded by the carpal bones beneath and the thick transverse carpal ligament above. Nine flexor tendons and the median nerve run through this tunnel. When the hand rests on the floor, direct downward pressure can compress the median nerve against the ligament, producing numbness or tingling in the thumb, index, and middle fingers.
Most untrained practitioners let their weight roll to the outside edge of the hand. The outside edge holds the hypothenar eminence and the pisiform bone. Resting your weight here puts stress on the triangular fibrocartilage complex, a small cartilage pad on the pinky side of the wrist. This cartilage has a limited blood supply and takes a long time to heal once torn or irritated.
To offload the carpal tunnel and the pinky edge, anchor the base of the index finger. In yoga traditions, this action forms part of hasta bandha, or the hand lock. The base knuckle of the index finger is the second metacarpophalangeal joint. It is naturally stable, broad, and supported directly by the radius, which is the thicker bone of the forearm.
- Place your hands on the mat and locate the fleshy pad at the base of the index finger.
- Press that specific point down into the rubber until the skin under the knuckle turns pale.
- Keep that contact solid while wrapping the base of your thumb into the mat.
- Grip lightly with the fingertips to engage the flexor digitorum profundus muscle.
- Notice the slight lift this creates in the center of the palm, taking pressure off the carpal tunnel.
Finger spread and rotation angles
Spreading the fingers increases your base of support. A wide base makes balance easier and spreads ground pressure over more surface area. However, overstretching the fingers until the skin between them turns white strains the collateral ligaments and pulls the palm flat, eliminating its natural arch. Spread the fingers comfortably so each finger has space, but keep the webbing relaxed.
Hand rotation dictates the rotation of the forearm and shoulder. The standard instruction to point the middle finger straight forward does not suit every body. For many people, pointing the middle finger forward forces the forearm into extreme pronation. That rotation twists the carpal bones inward and closes the space for the radial nerve and thumb tendons.
Turn your hands outward slightly instead. Aim to place your index finger parallel to the long edge of the mat, or point the space between your index and middle fingers straight forward. This positions your hands at an outward angle of roughly five to twelve degrees. That small degree of external rotation frees space in the carpal bones and allows your elbows to track naturally.
- Index fingers parallel: Creates roughly eight degrees of external rotation. Relieves pressure on the lateral wrist and stabilizes the radius.
- Middle fingers parallel: Neutral wrist rotation. Works well for people with high natural forearm pronation and flexible shoulders.
- Hands turned out fifteen degrees: Useful for people with stiff shoulders, broad collarbones, or existing wrist impingements. Reduces forearm twisting.
Avoid turning the fingers inward toward each other. Inward rotation forces the elbows out to the sides, drops the weight directly onto the median nerve, and puts the rotator cuff of the shoulder in an impingement posture.
Using a wedge or rolled mat under the heel of the hand
If your wrist cannot reach a 90-degree angle without pain, do not force it flat to the floor. Forcing a stiff joint under load compresses soft tissue. You can use props to change the floor angle to match the mobility you currently have.
A dense foam or cork wedge placed under the hands changes the wrist angle instantly. Position the wedge so the thick edge faces your body and the thin edge slopes toward the front of your mat. When you rest your palms on the wedge, the heel of the hand sits higher than the knuckles. Raising the heel by just twelve to fifteen millimeters drops the extension angle from 90 degrees down to roughly 75 degrees, which opens the dorsal joint space.
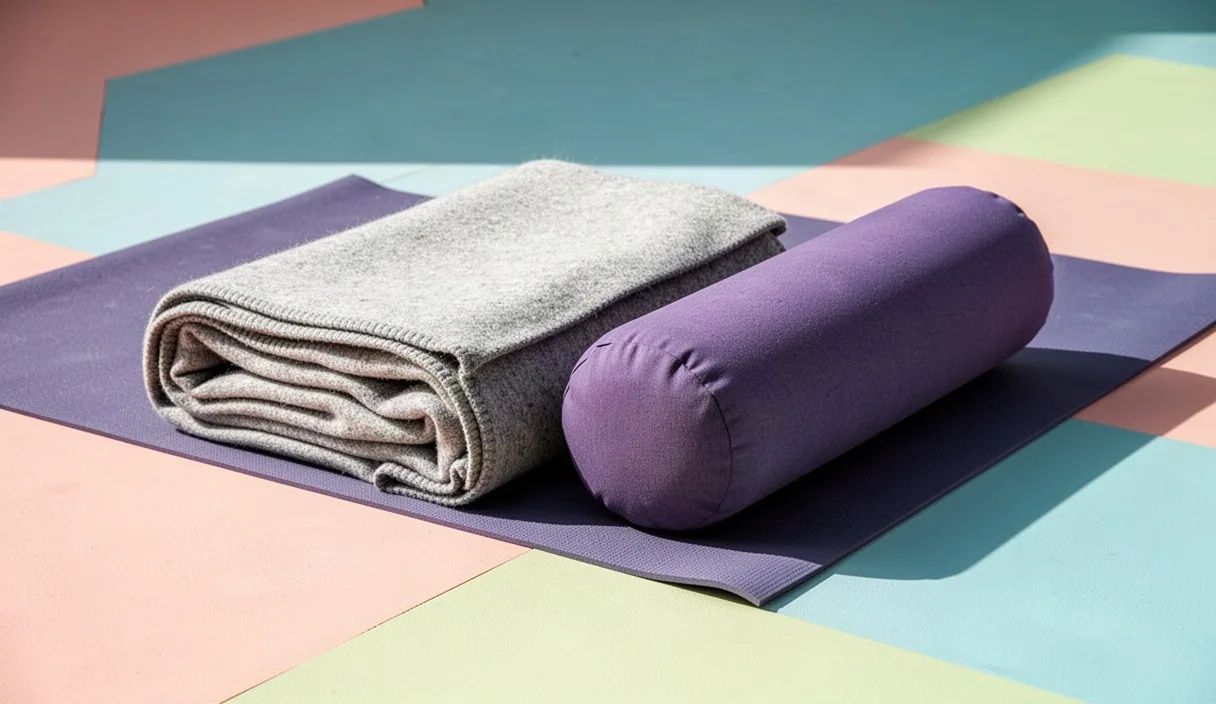
You can make a functional wedge out of your existing yoga mat. Step off the mat, roll the front edge back three or four turns to create a firm, flat lip about one centimeter high, and place the heels of your hands on this roll while your fingers rest on the single layer of mat below. The slight drop lets your fingers grip the floor while relieving tension across the front of your wrist.
| Tool Used | Angle Adjustment | Firmness | Best Application |
|---|---|---|---|
| Firm foam wedge | 10 to 15 degrees | Medium-firm | flexibility & mobility, carpal tunnel symptoms |
| Rolled mat edge | 5 to 8 degrees | Matches mat material | Minor tightness, quick setup in group classes |
| Wood or cork block | Varies (hand wraps edge) | Very firm | Relieving wrist completely by holding side edges |
Props are training tools, not crutches. They allow you to build upper-body strength in the back and shoulders without damaging the connective tissues of the hands. Over months of consistent work, you can reduce the height of the roll as the joint adapts.
Checking shoulder mobility before adjusting the hands
Wrist pain in Downward Dog is often a shoulder problem in disguise. To form an inverted V, your arms must lift overhead until they align with your torso. This requires roughly 180 degrees of shoulder flexion combined with external rotation of the humerus. If your lats, pec major, or rotator cuff muscles are tight, your shoulders will stop moving early, often around 150 degrees.
When the shoulders stop early, your chest cannot move toward your thighs. Your torso stays pushed forward, resembling a high plank more than an inverted V. This shift places excess body weight onto your hands. More importantly, it pushes your forearms forward over your fingers, driving the wrist joint past 90 degrees into hyper-extension.
You can test your active shoulder mobility with a basic wall test.
- Stand with your heels, pelvis, upper back, and back of the head flat against a clear wall.
- Flatten your lower back against the wall by engaging your abdominal muscles.
- Raise your arms forward and overhead with straight elbows, keeping your thumbs pointing back.
- Note the point where your lower back arches away from the wall, or your elbows bend.
- If your thumbs cannot touch the wall without your ribs popping forward, your overhead mobility is limited.
If your test shows limited mobility, adjust your Downward-Facing Dog setup. Widen your hands to the outer edges of your mat. Bend your knees generously to let your pelvis tilt forward, which gives your spine and shoulders more clearance. Widening the hands reduces the shoulder flexion required to achieve a straight line from your wrists to your hips.
Common mistakes
Many students repeat minor positioning errors until inflammation sets in. The most frequent errors involve uneven pressure distribution and hasty transitions.
- Tent-shaped fingers: Raising the base knuckles while clawing the mat with the fingertips. This strains the small joints of the fingers and dumps weight into the heel of the hand.
- Dumping into the outside edge: Letting the thumb and index finger lift off the ground, resting entirely on the ulnar nerve side.
- Setting hands too narrow: Placing hands closer than shoulder-width apart. This pinches the subacromial space in the shoulder and forces the wrists to deviate outward.
- Slippery mat surface: Using a worn mat that causes hands to slide forward. Fighting the slide forces you to push down with excess friction, tiring the wrist stabilizers rapidly.
- Ignoring sharp pinches: Treating sharp, localized wrist pain as ordinary stretch discomfort. Bone compression does not stretch out; it inflames.
Practical next steps
Start your next practice from Tabletop on hands and knees instead of jumping straight into Downward Dog. In Tabletop, check your hand foundation before you put your full body weight on it. Look at your fingers: ensure the index knuckle is anchored to the mat, the thumb is pressed down, and the hand is turned out slightly.
Before lifting your knees, lean your chest forward and back two or three times to gauge how your wrists feel today. If the front of your joint feels stiff or tight, roll the front edge of your mat back immediately or grab a foam wedge. Do not wait for pain to appear midway through class.
If you experience persistent joint swelling, numbness, or pain that lasts outside of yoga class, consult an orthopedist or a physical therapist. Structural conditions like ganglion cysts, tendonitis, or carpal tunnel syndrome require targeted evaluation and rest, not adjustments on the mat.